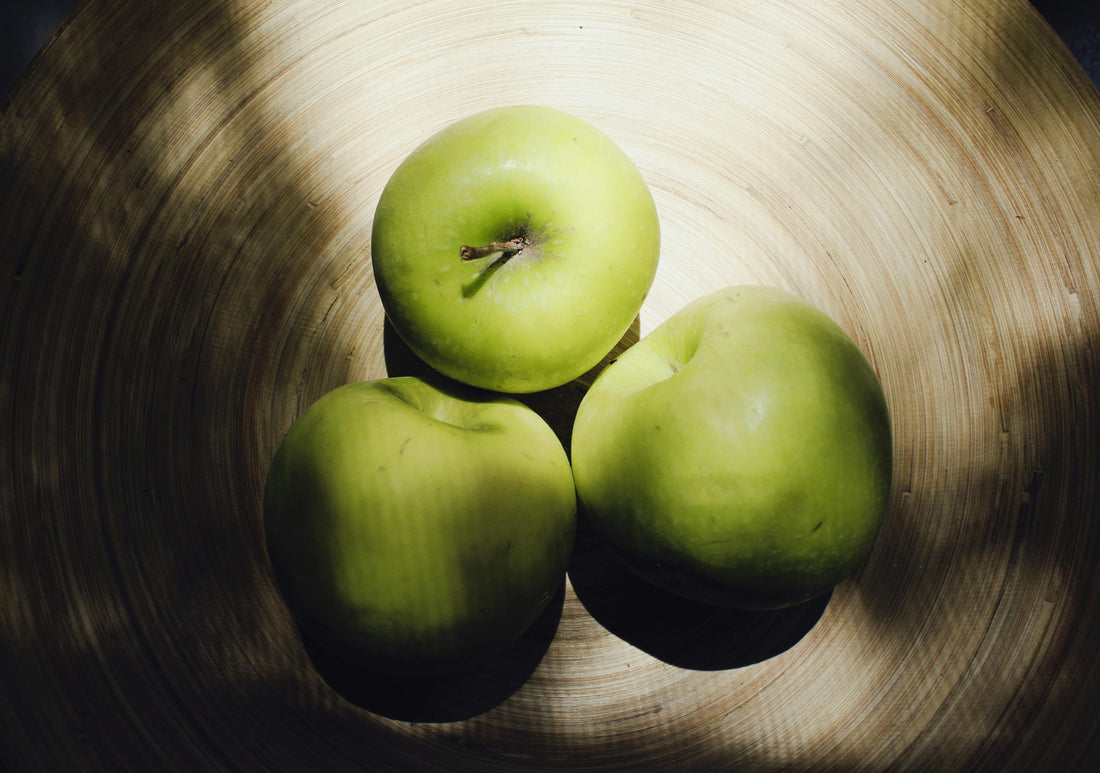
August through to September and October is the most popular apple harvest season. At this time most homeowners and apple lovers figure out creative ways to consume apples. Among popular choices of desserts, apple crisps in jam jars with lids fall among the classic choices.
The good news is that preparing Apple crisps in storage jars is easy and can be considered a fun cooking project to embark on with loved ones. If you are wondering how to get started, This recipe guide can be your checklist from gathering the ingredients and utensils, to getting your delicious dessert out of the oven, and storage. Are you ready? Let’s get started
Ingredients and Utensils
- 8 Apples (peeled and cored)
- 2 cups oats
- 1 ½ cup all-purpose flour
- 1 ¼ cup light brown sugar
- 2 ¼ teaspoons ground cinnamon
- 1/4 teaspoon salt
- 1 cup butter (cut into small cubes)
- 3 ½ tablespoons lemon juice
- 1/2 cup light brown sugar (for apple mixture)
- Jam jars (desired sizes)
- Caramel sauce or whipped cream (optional)
How to Make Apple Crisps in Jam Jars

1. Preheat the Oven and Prepare the Storage Jars
The First step is preheating your oven to 350°F or 180°C. While the oven is being preheated, sterilise your glass jars with lids by washing, cleaning and drying them on the rack.
Pro Tip - Ensure the glass jars are microwave-safe jars before using them. It’s recommended that you enquire with your supplier.
2. Prepare Your Apples in a Bowl
If the apples are not peeled and cored yet, do that and chop them into small sizes. In a bowl, pour in the chopped apples, add the lemon juice and the ½ cup of brown sugar.
3. Mix the Crisp Topping in a Bowl
In a separate bowl, pour in the flour, oats, cinnamon, sugar, cubes of butter, and salt. Mix them using a pastry cutter or your hands until it’s evenly mixed and feel crumbly.
4. Fill the Jam Jars
To fill the jars, first place the storage jars on a baking sheet. In each glass jar, pour in a layer of the apple mixture then add a layer of the crisp topping over the apple mixture. Ensure the crisp topping does not go above the glass jar’s rim.
5. Bake
Are you already salivating? Hold on a bit. Place them in the preheated oven and bake for about 30 minutes or until the topping turns golden brown. Note that you are baking the apple crips without the glass jars’ lids.
6. Serve or Store

Once your apple crisp is baked, removed from the oven and allowed to cool for a few minutes, you can serve it with whipped cream or caramel sauce on top. If you are storing them, seal the glass jars with lids and place them in the refrigerator.
If you are considering getting heat resistand and microwave-safe jars, check our wide collection of jam jars suitable for baking and storage needs in different designs and sizes. You can also contact us with your specifications to help you make a more informed choice in choosing your preferred glass storage jars with lids.
Frequently Asked Questions
How do you know when apple crisp is done?
To confirm if an apple crisp is done, observe if the topping is golden brown, and crispy, and the apple filling is bubbling up around the edges. As a rule of thumb, it takes about 30-40 minutes in a 350°F or 180°C oven.
How long does apple crisp last?
When properly sealed and stored in the refrigerator, apple crisp cans last up to 3 to 4 days but when frozen, they can last upt to 3 months. It is always recommended to use glass jars with lids to store apple crisps because it does not leach chemicals into food content that can pose health risks, and it maintains the freshness and flavour of the apple crisp.
How do you keep apple crisp from getting soggy?
To prevent apple crisp from getting soggy, avoid overfilling the glass jars, ensure the crisp topping is entirely baked and when storing them, ensure the jars are properly sealed tightly.

